A COLUMN-BEARING LION BY LUPO DI FRANCESCO
3D Graphics for Cultural Heritage, University of Pisa
1) The Color-per-Vertex model


2) The Texture Mapping model


A comparison
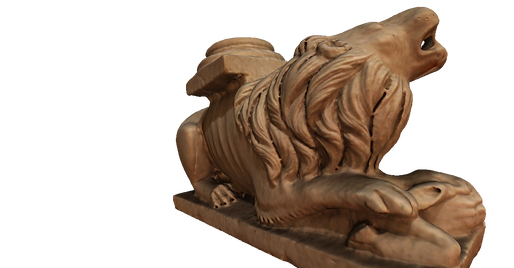
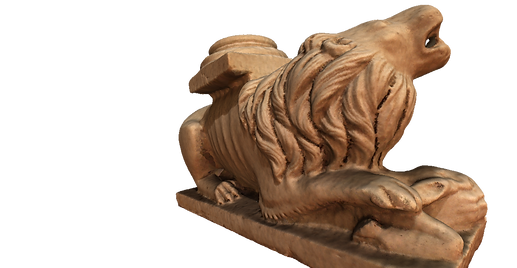
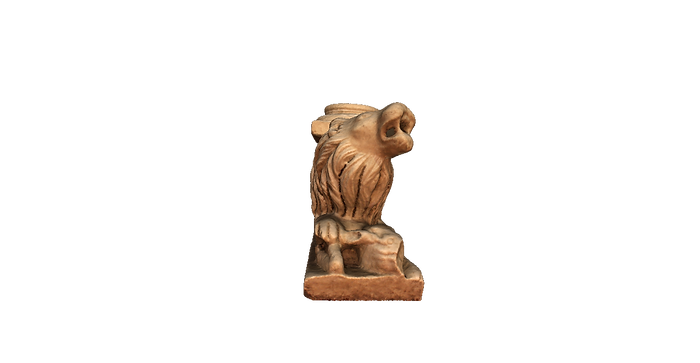
Color-per-Vertex
Texture-Mapping

Advanced Visualisation
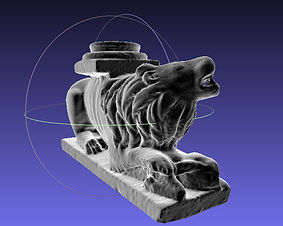
- Ambient Occlusion
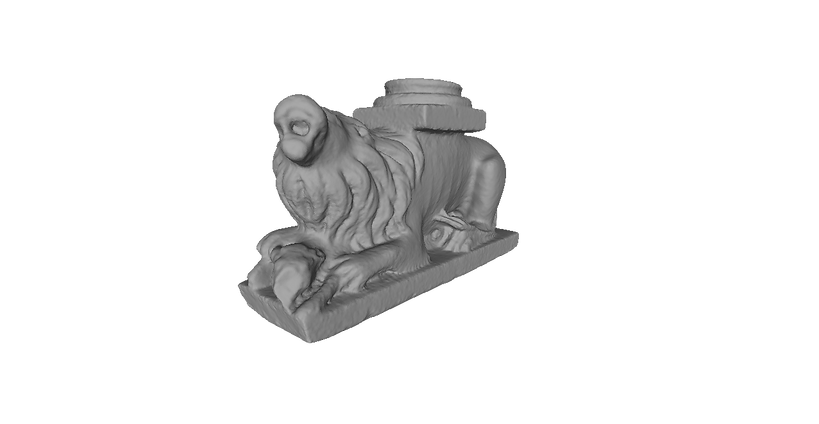
In addition to the two approaches taken to obtain a coloured model, I decided to present my lion even using the Ambient Occlusion, a way to show the model without transferring colour information.
For Ambient Occlusion, I used the Color Creation and Processing->Ambient occlusion-Per vertex filter on the triangulated model. The result was an uncoloured model that was illuminated by a series of different directions of light, in which the more occluded parts look darker and the more exposed parts are lighter. Therefore, I regulated the intensity of light and shadow using the Color Creation and Processing->Vertex Color Levels Adjustment filter, with which I accentuated the contrasts between light and dark, in order to make the details and the geometric characteristics of the object more visible.
The model without the Ambient Occlusion
The model with the Ambient Occlusion
- Quality mapper
Furthermore, I used the Quality mapper tool on the model on which Ambient Occlusion was calculated. This tool permits a visual description of the quality of the occlusion of the model by colouring it: higher quality is shown in red, lower quality in blue.

- Shaders
Lastly, another possibility offered by MeshLab for presenting the model: the Shaders. The Shaders are renderings that generate particular visual effects on the appearances of the model, but without changing its geometry. Among the various Shaders available in MeshLab, these are the ones I felt were especially interesting for observing my model better:

Xray

Radiance Scaling
Electronic microscope

Glass